It’s easy for users to see you when you’re live on Twitch, but what happens when you’re offline? This is where the profile picture comes in. While it doesn’t have to be your photo, it should be unique enough to stand out and eventually become part of your channel’s identity. Here’s how to add or change your Twitch profile picture.

While you can add or change your Twitch profile picture to a photo from the web, it’s imperative to ensure that the photo is not copyrighted. In addition, you can only upload images in JPEG, PNG or GIF format with a size of no more than 10MB. Before uploading, make sure the image is at least 200x200px to avoid distortion.
Beyond that, start learning how to add or change your profile picture to your Twitch profile.
How to set or change your Twitch profile picture
It doesn’t matter if you’re placing your Twitch profile picture for the first time or swapping it out for a more personalized photo. This is because the way to set or change the Twitch profile picture is more or less the same with a few changes made using a web browser.
So, let’s see how to do it using the Twitch desktop and mobile apps.
On iOS or Android devices
Step 1: Open the Twitch mobile app.
Step 2: In the top right corner, tap your profile icon.
Step 3: Then, tap on Account Settings.

Step 4: Here, tap on Accounts.
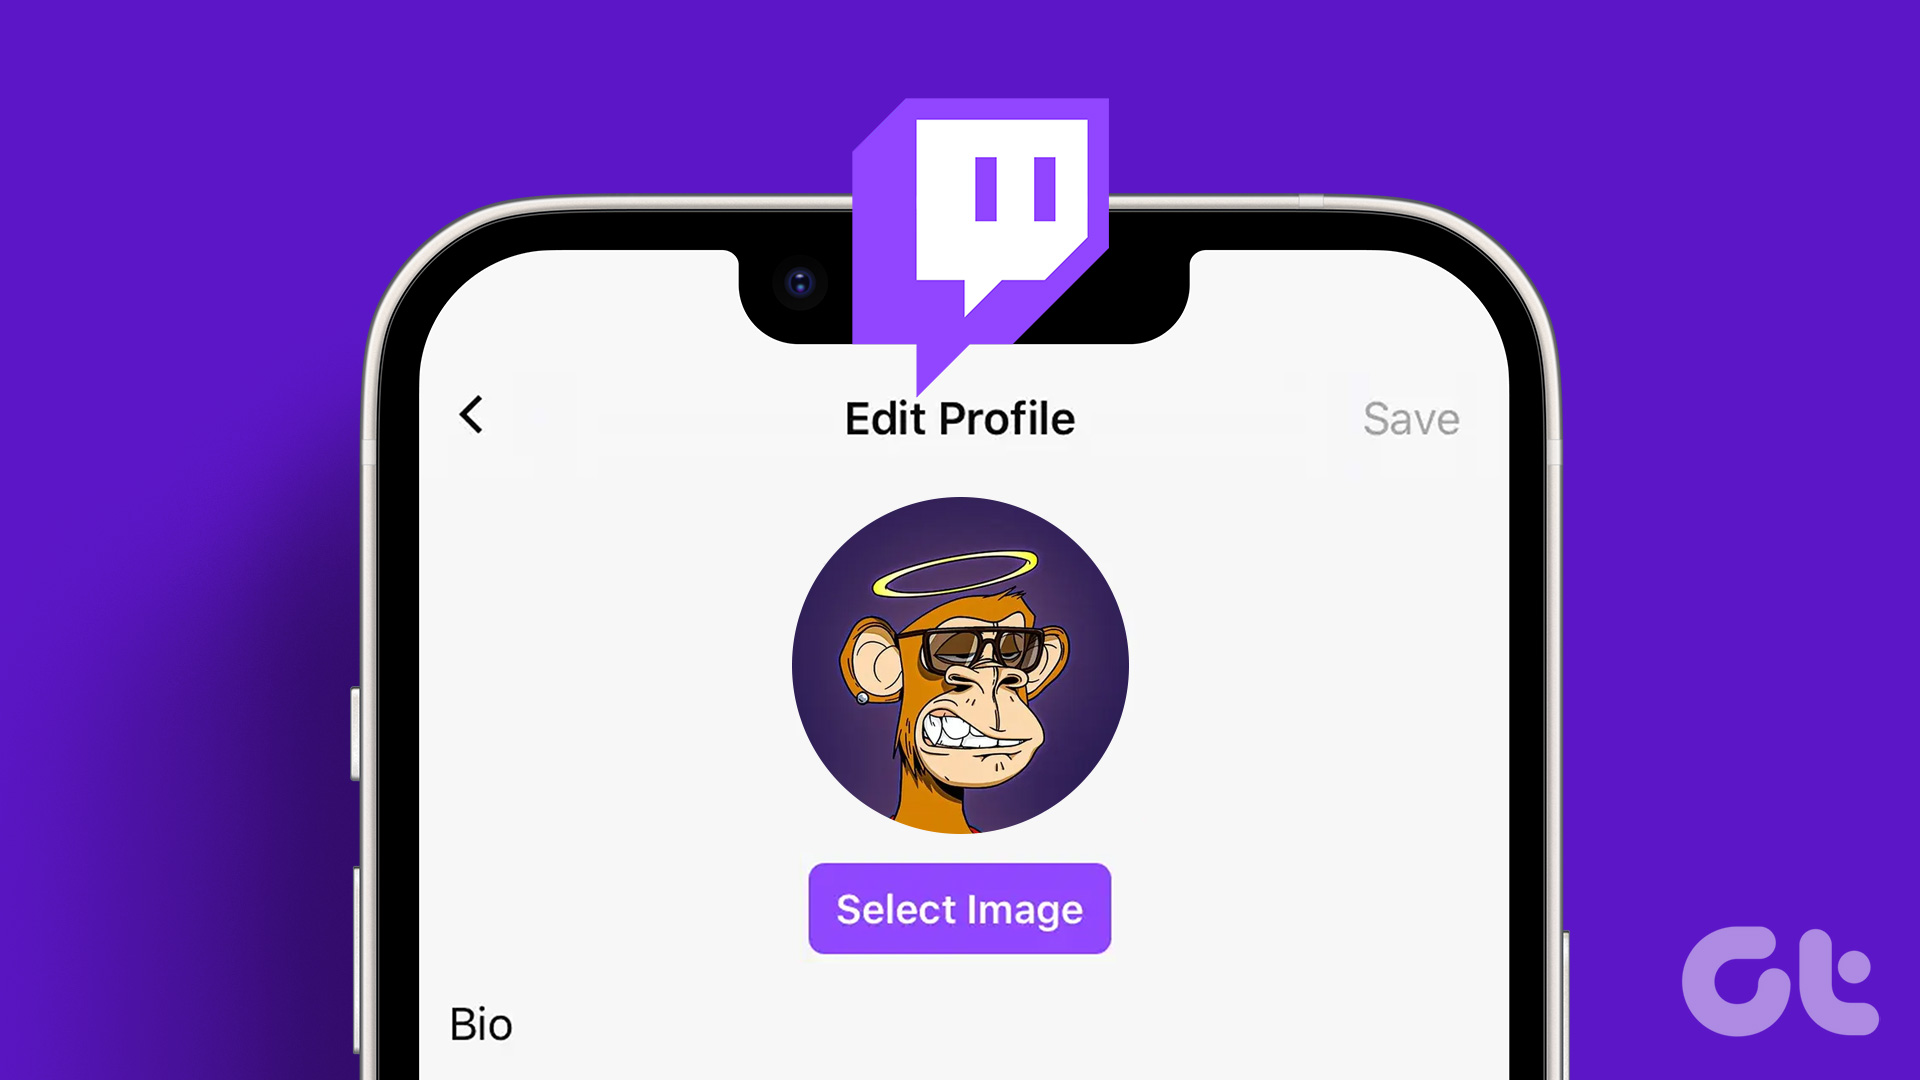
Step 5: Click Edit Profile.

Step 6: Here, tap on Profile Picture.
Step 7: If you want to upload an existing image, tap ‘Select existing photo’.
Note: Tapping Take Photo opens your device’s camera and allows you to take pictures in real time.

Step 8: Here, click on the relevant image.
Step 9: Then use your finger to zoom in or out the image. Once done, tap the check mark in the top right.

This will instantly set or change your Twitch profile picture.
On desktop
Step 1: Open Twitch on any web browser.
Step 2: Click on the profile icon in the top right corner.
Step 3: Here, click on Settings.

Step 4: In the Profile Picture section, click ‘Add Profile Picture’.

Step 5: Select the appropriate image and click Open.

Step 6: Use the slider to adjust the image.
Step 7: Once done, click Save.

This will allow you to put your profile picture on Twitch.
Change profile picture on Twitch
Now, as mentioned above, the process is a bit different if you are changing your Twitch profile picture on the Twitch website. Here’s how to do it.
Step 1: Open Twitch’s Settings page and click ‘Update Profile Picture’.

Step 2: Here, click Upload photo if you want to use the new photo as your avatar.
Note: If you click ‘Edit Current Thumbnail’, Twitch will open the currently uploaded photo in an edit window. Just resize and click Done to save the changes.

Step 3: Then, select the appropriate image and click Open.

Step 4: Resize the image using the menu options.
Step 5: Then, click Save.

This will change the Twitch profile picture for your account.
How to delete profile picture on Twitch
The only way you can delete your profile picture on Twitch is by using the Twitch website. You can’t delete profile pictures on Twitch’s mobile app. This can be useful if you are not satisfied with the current image but do not have another image to replace immediately. Use the settings menu to do it easily. This is the way.
Step 1: Open the Twitch settings page
Step 2: Go to your profile picture and click on the trash can icon.

This will immediately delete your profile picture on Twitch.
How to download Twitch profile pictures
While there is no native way to download profile pictures on Twitch, you can get around it by using a browser extension. So, let’s take a look at the Profile Picture Downloader for Twitch extension in Chrome that can help you download your Twitch profile picture, yours or anyone else’s.
Follow the steps below to do that.
Step 1: Open the extension page for ‘Profile Picture Downloader for Twitch’ in the Chrome web store.
Step 2: Here, click ‘Add to Chrome’.

Step 3: Then, click on Add extension.

Step 4: Once the extension is added, open Twitch.
Step 5: In the search bar, enter the name of the channel you want to get your profile picture from and click on it from the search results.

Step 6: Here, click on the channel.

Step 7: Once the channel page opens, go to Chrome’s menu bar and click on the ‘Profile Loader for Twitch’ icon.
Step 8: Click Download.

This will instantly download your Twitch profile picture to your device. You might also consider pinning this extension to Chrome if you think you’ll be using it often.
In addition to adding or changing your profile picture, you can also change your Twitch profile banner. This can be anything from a random banner image to more information about your channel and its streaming schedule.
Just like the profile picture, make sure your banner image is smaller than 10MB and adheres to the JPG, GIF, or PNG format limit. However, the minimum recommended size is 900x480px because in general banner images need to be wider. So, let’s see how to change the Twitch profile banner using the desktop and mobile apps.
On mobile
Step 1: Open the Twitch mobile app.
Step 2: Tap your profile icon.
Step 3: Here, tap on Account Settings.
Step 4: Then, tap Accounts.
Step 5: Click Edit Profile.
Step 6: Here, tap on Profile Banner.
Step 7: Click ‘Select existing photo’ to upload an existing image. However, if you want to take a photo with your device’s camera, tap Take Photo.

Step 8: Select an image from the options.
Step 9: Scale the image according to your preference.
Step 10: Click the Done icon to complete the upload process.

This will change the banner image to the image you selected. Please note, the cropping window will also open if you take a photo with your device’s camera.
On desktop
Now, if you want to add or change banner images on Twitch using your web browser, there are two main ways you can do it: using your account settings and the Twitch Creators Dashboard. The first method will allow you to upload your custom banner while the second will allow you to use a generic banner created by Twitch.
Follow the steps below to add or change Twitch banners with both.
Method 1: Using Account Settings
Step 1: Open Twitch on any web browser and click on your profile icon.
Step 2: Here, click on Settings.
Step 3: Then, go to Profile Banner and click Update.

Step 4: Here you can drag and drop the banner image or click ‘Upload Photo’.

Step 5: Then, select the image you want to upload and click Open.
This will upload the image and change your Twitch profile banner accordingly.
Method 2: Use the Creator Dashboard
Step 1: Open Twitch and click on the profile icon.
Step 2: Here, click on Creator Dashboard.

Step 3: Then, from the menu options in the sidebar, click Settings to expand and select Channels.
Step 5: Here, click on Brand.

This will change your Twitch profile background to an auto-generated background. If you want to change the color of the banner, scroll up to the ‘Profile accent color’ section and choose another color accordingly.
Frequently Asked Questions about Using Twitch
1. Can you attack someone on Twitch?
Open Twitch in any web browser. Then click your profile icon > Channels. Here, scroll down and click Chat. When the chat window opens, type /assault [name of the channel you want to raid] and press enter. Let the timer expire and click Raid Now. This will allow you to attack someone on Twitch.
2. How do I block someone on Twitch?
To block someone on the Twitch mobile app, open Twitch and use the search bar to find the user. Then, when the relevant user profile opens, tap the three-dot icon. From the options, tap Block.
Customize your Twitch profile
Showing photos is a great way to add a personal touch to your Twitch channel or profile. So we hope this article helped you understand more about how you can add or change your Twitch profile picture. You can also take your profile customization a step further by changing the color of your name on Twitch.
Categories: How to
Source: thpttranhungdao.edu.vn/en/